General Settings
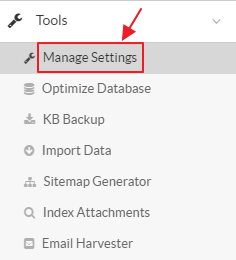
Tools section contains a list of various configuration settings related to your knowledge base. To manage these settings expand "Tools" section of the left navigation bar and click on "Manage Settings" as shown below:
Manage Settings is further divided into different subsections to categorize the settings properly. By default, the General Settings page is displayed which is further categorized into four parts:
- General Settings
- IP Address Restriction Settings
- Product Details
- Mail Server Settings
- Database Settings
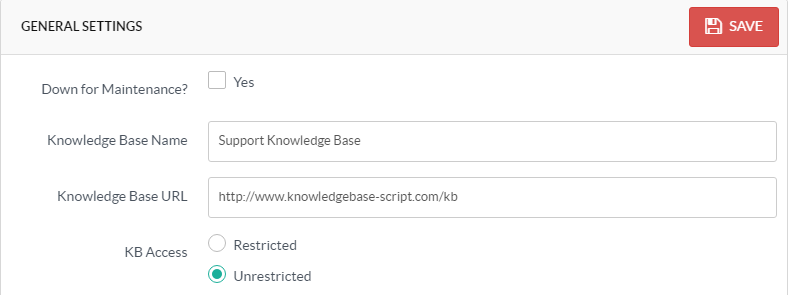
- Down for Maintenance?: If checked, it will display down for maintenance page to front end users instead of knowledge base details. You can enable this setting during system enhancement or troubleshooting and can disable it after the enhancement period to bring back the actual knowledge base.
- Knowledge Base Name: Enter name of the knowledge base in this field. This name will be displayed in the header section of the front end.
- Knowledge Base URL: This is the URL where the knowledge base is installed. However, please note knowledge base wouldn’t work properly if the URL is incorrect.
- KB Access: If radio button Restricted is checked, then front-end users must log in first in order to access the Knowledge Base. In case Unrestricted, front-end users would be able to access the knowledge base even if they are not logged in.
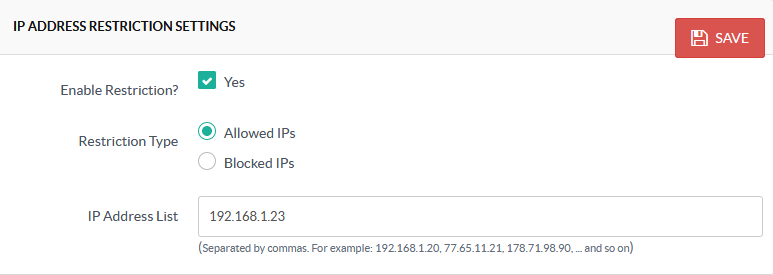
- Enable Restriction: You can enable this option to control the restriction of specified IP addresses (mentioned in IP Address list).
- Restriction Type: If radio button Allowed IPs is checked, then users with IP addresses specified in IP Address list would be able to access the knowledge base. Whereas if Blocked IPs is checked, then the users with IP addresses mentioned in below list would be blocked and won’t be able to access the knowledge base.
- IP Address List: Specify the IP Addresses according to which you want to allow or block the users to access the knowledge base. Please note that you can mention multiple IP addresses separated by a comma (,).
- This feature is available only in enterprise edition of PHPKB Software.
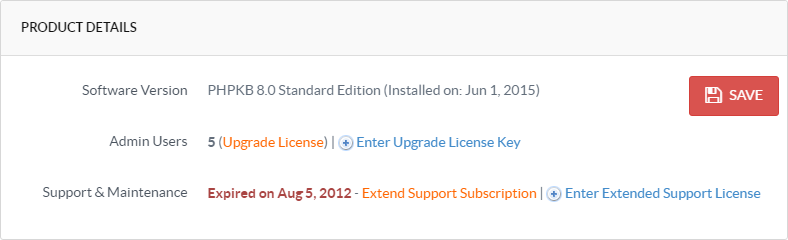
- Software Version: This field displays version (Standard/Enterprise/Standard ML/Enterprise ML) of PHPKB knowledge base software installed on your server along with installation date.
- Admin Users: This field displays the admin users license purchased by you. If you have upgraded the admin user license, you should enter your new license key in software by using the link; Enter Upgrade License Key.
- Support & Maintenance: This field displays a date after which your support and maintenance period will expire. You can purchase extended support by clicking on Extend Support Subscription link. It would send an email to the sales department for extending support period.
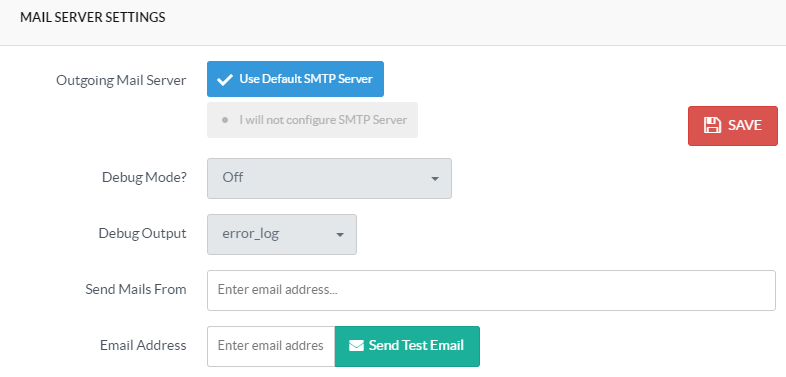
- Outgoing Mail Server: This field controls the email server used for PHPKB knowledge base. Default SMTP Server allows PHPKB Software to use the internal PHP mail function to send emails. Click on I will not configure SMTP server to specify the details of your own SMTP server. Fill the details of SMTP settings in different fields provided (Refer figure below).
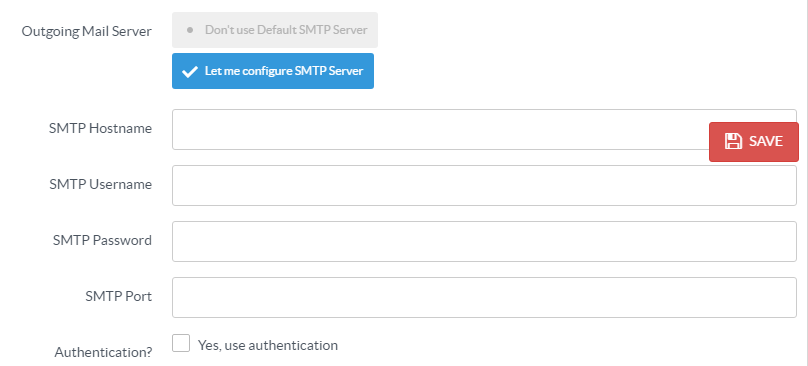
- SMTP Hostname - Enter either the fully qualified domain name (e.g. mail.domain.com) or the IP address (e.g. 192.168.0.1) of your SMTP server.
- SMTP Username - If your SMTP server requires authentication, then you need to provide the login username in order to connect to the SMTP server and send the emails.
- SMTP Password - For the authentication, you need to provide the login password in order to connect to the SMTP server and send the emails.
- SMTP Port - You need to specify the port number on which your SMTP server is listing. The default port number is 25.
- Authentication? - If your server requires authentication then enable this option (See figure below).
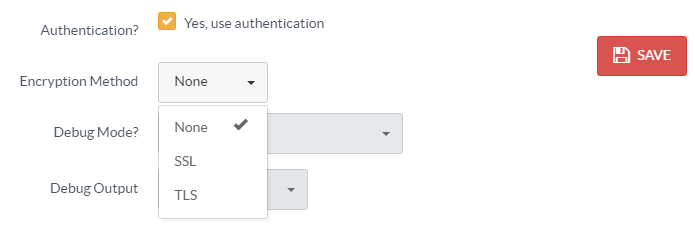
- Encryption Method - It is used to provide communication security over a computer network. You can select None option to ignore the encryption. Secure Sockets Layer (SSL) is a protocol for securing connections between network application clients and servers over an insecure network such as the internet whereas Transport Layer Security (TLS) provides privacy and data integrity between two communicating computer applications.
- Debug Mode: It is a troubleshooting environment in which you can track down the error by turning it on. It is advised to turn this setting On only when you experience any issues with your SMTP server otherwise keep it turned Off .
- Debug Output: Select a suitable debug output in this field. Error_log will push all errors into an error-log file of your web server. Echo option will display error immediately as they occur and Return will neither save errors into an error-log file nor display them.
- Send Mails From: Enter an email address in this field which will be used to send all outgoing emails.
- Email Address: Enter an email address in this field on which you want to receive test email from the system.
MySQL Database Settings - 
- MySQL Details: This field displays details of your database server.
- MySQL Hostname: Enter name of the server where MySQL database is located. Usually, localhost is entered as a hostname.
- MySQL Username: Enter a username which you use to login to the database.
- MySQL Password: Enter a password which you use to login to the database.
- Database Name: Enter a name for MySQL database. Click Test Connection button to check whether the details you entered are correct or not.
- The screenshot above is related to MySQL version, similar fields are available in MSSQL database as shown in the screenshot below:
- Click "Save Changes" button to save the changes you made in settings or you can click "Cancel" button to abandon the changes.
MSSQL Database Settings - 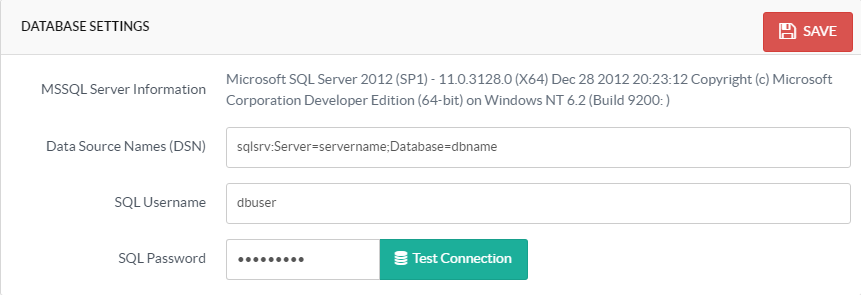
- MSSQL Server Information: It displays the information of SQL server.
- Data Source Name: It is a string that has an associated Data Structure used to describe a connection to a data source. Data Source Name is entered as <DRIVER>:host=<HOSTNAME>;dbname=<DB-NAME>.
- SQL Username: Enter your login username which you use to login to the database.
- SQL Password: Enter login password which you use to login to the database. Click Test Connection button to check whether the details you entered are correct or not.
- Applicable To: Standard Edition, Standard (Multi-Language) Edition, Enterprise Edition (MySQL), Enterprise Multi-Language Edition (MySQL), Enterprise Edition (SQL Server), Enterprise Multi-Language Edition (SQL Server)