Click "Manage" link in Glossary section of left navigation bar to open "Manage Glossary" page. In ML editions, admin users can view/manage glossary of a particular language by changing the language from language drop-down (Refer Admin Control Panel Interface) available on right side of the screen.
The columns of the screen are explained below:
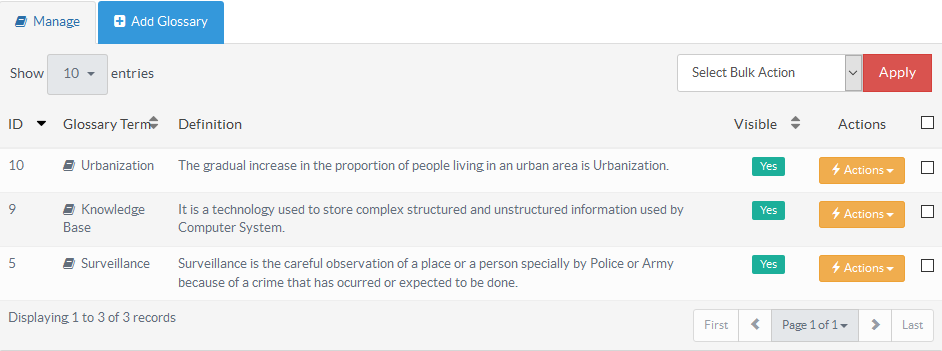
ID: This column displays the serial ID of the glossary term in the knowledge base.
Glossary Term: This column shows the word or phrase defined in the glossary. In front-end, glossary terms are highlighted in the article content and appropriate description is shown on mouse over.
Definition: The explanation of the glossary term that is displayed to users on mouse over of the term.
Visible: This column defines the visibility of the glossary term in end user interface. Yes label shows that the term is visible in glossary page and is auto linked with the articles; vice versa for No label.
Actions: This column contains a drop-down list of operations that can be performed on these terms. The actions are:
Edit - Click to modify the glossary term.
Delete - Click to remove the glossary term from the knowledge base.
You can perform the same action on more than one glossary term using "Select Bulk Action". For this, you need to mark the check boxes corresponding to the terms for which action is required and then select the desired action in select bulk action drop-down and click on "Apply" button.
Article ID: 92
Created: July 30, 2016
Last Updated: August 1, 2017
Author: Gurjeet Kaur [gurjeet@phpkb.com]