How to Author an Article in the Knowledge Base?
Estimated Reading Time: 1 Minutes- After logging into the system, click on Article -> Add New
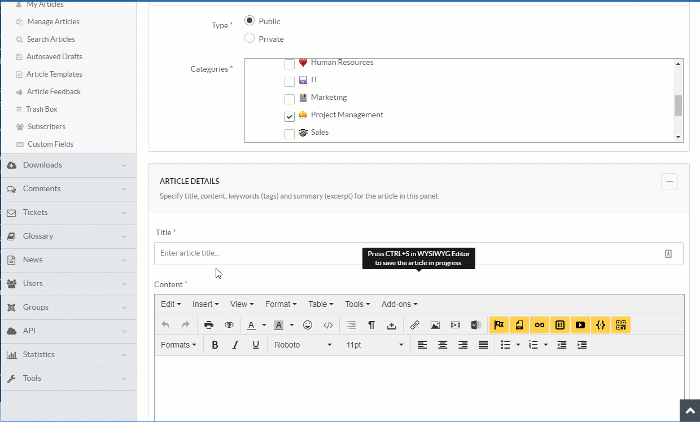
2. Determine the type (Public or Private) and category (categories). The categories step is critical so your article can be found by the intended audience.
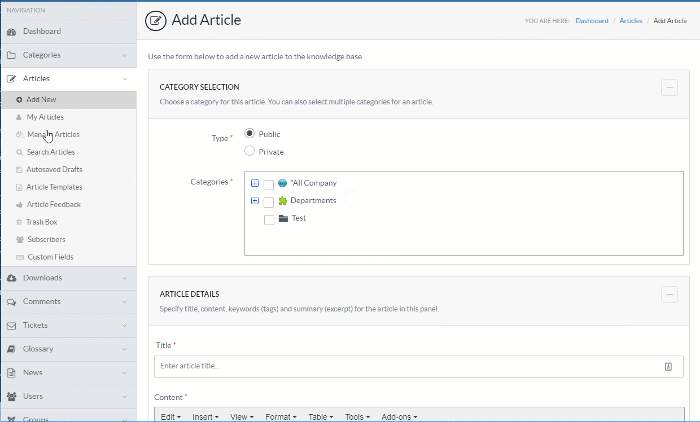
3. Enter the Article Title and Article Content
- For the Article Title, please consider the following guidelines:
- Make the article title concise but descriptive
- Use terms and language that will resonate with your audience (e.g. call it what they call it)
- For the Article Content - please refer to this supporting Article: [Writing Effective Help Desk Knowledge Base Articles].
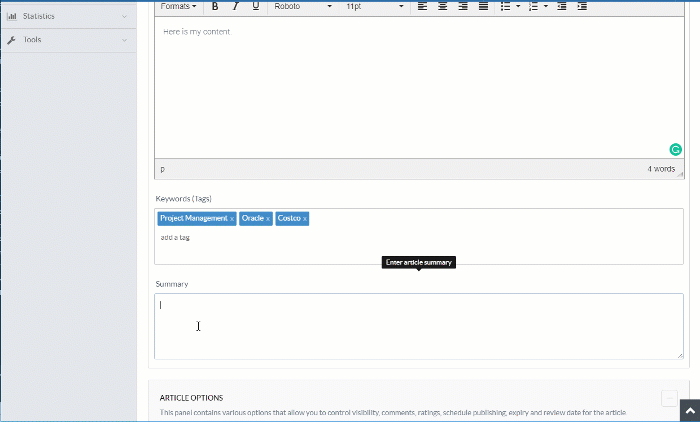
4. Enter your keywords/tags.
Keywords/tags are the life-blood of making the search meaningful for end-users. Please take a few minutes to contemplate all the ways your user could think about this article and add appropriate keywords. Consider: phase, department, system name, process step, error code, etc.
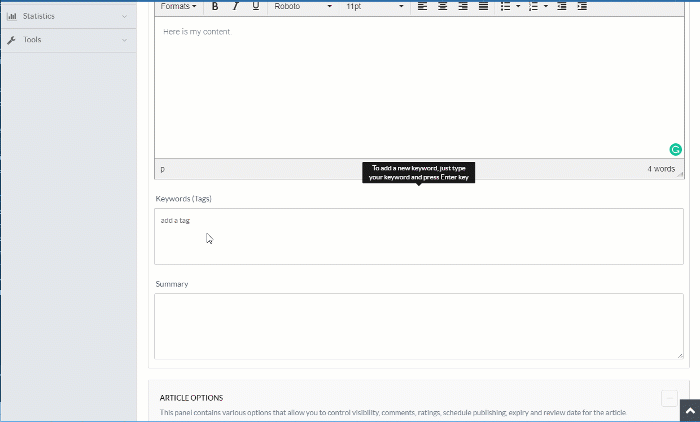
5. Enter the summary of the article. You’re limited to 250 characters - approximately two sentences. Be brief but descriptive and note who’s executing this step and where it fits in the bigger picture. You may find you need to add this background/context content to the top of your main article if it helps the user understand the overall article.
6. Attach any reference materials, select any attributes that apply and then click Save Article.
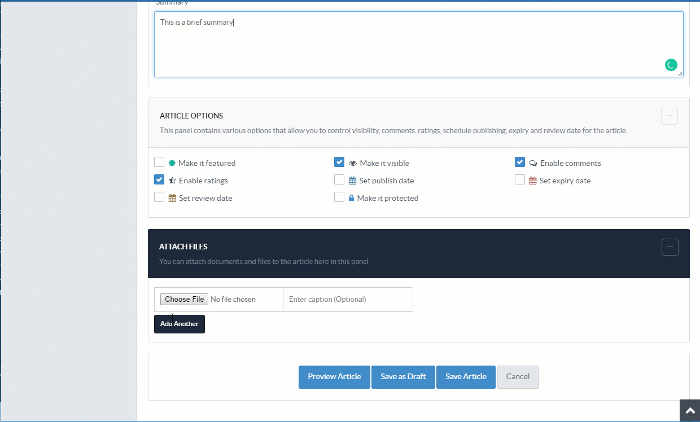
Note: Generally, any article that’s saved will need to be reviewed by a super admin. This checkpoint ensures that there’s an opportunity for a second set of eyes to review the content for completeness, template execution and potential gaps. The reviewers receive a notification about your pending article.