Inserting an image into WYSIWYG editor
Estimated Reading Time: 1 MinutesPHPKB allows users to insert or edit an image to an article using WYSIWYG editor.

Click Insert/edit image icon displayed in WYSIWYG editor (highlighted in the screenshot above) to add or edit an image. When you click this icon, it will pop-up a window for providing general and advanced details of an image.
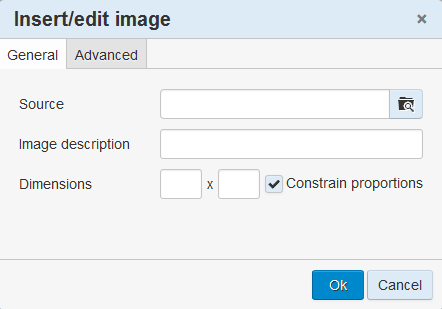
- In Source field, either type-in the complete address of image location or you can also upload the image using browse button. Asset Manager page will be displayed by clicking on browse button as shown in the figure below:
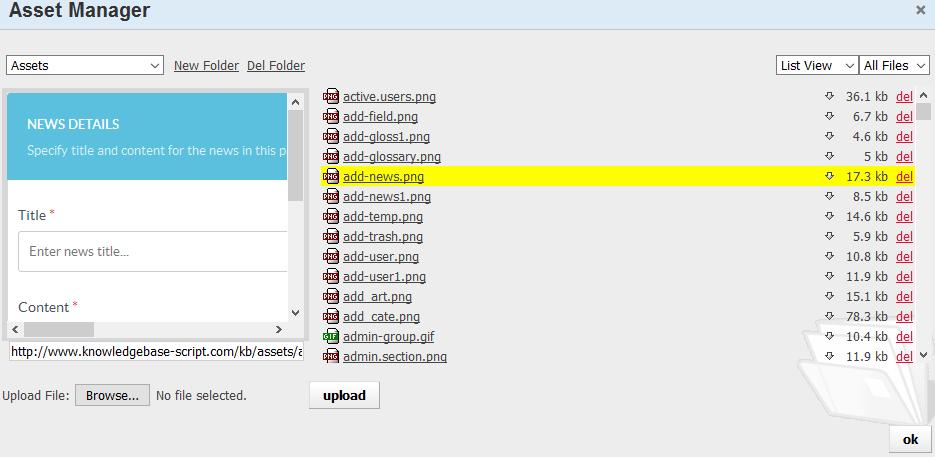
- Select a file from the directory of files that have been already uploaded.
- If you have not yet uploaded the file, click Browse button to upload the file from your computer to the server.
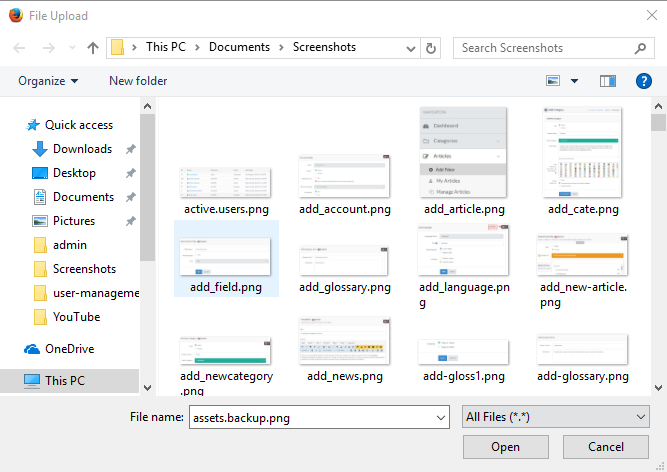
- Navigate to the folder from where you want to upload the file and click on open button. Click on upload button after choosing the file to start the upload. Once upload will be complete the file name will be highlighted with image preview on left side.
- For optimizing properties of an image, click Advanced in Insert/edit image window.
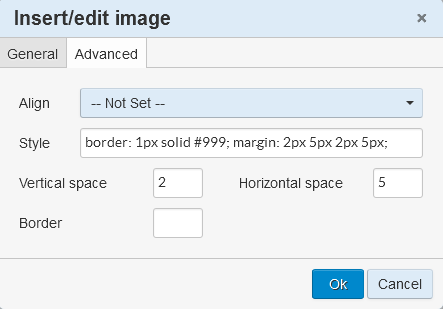
- You can align the image, add styles such as borders and/or margins, vertical and horizontal margins in this window.
- After specifying the features, click OK button to apply the properties.
- Applicable To: Standard Edition, Standard (Multi-Language) Edition, Enterprise Edition (MySQL), Enterprise Multi-Language Edition (MySQL), Enterprise Edition (SQL Server), Enterprise Multi-Language Edition (SQL Server)