Configuring Google as an OAuth Provider in PHPKB
Estimated Reading Time: 4 MinutesConfiguring Google as an OAuth Provider in PHPKB Knowledge Base Software is a process that enables users to log in to PHPKB using their Google credentials. This can be a convenient and secure way for users to access the system, as it eliminates the need for separate login credentials and ensures that users are authenticated by a trusted third party.
How to configure Google as an OAuth provider in PHPKB?
In this tutorial, you will learn how to configure Google as OAuth Provider with PHPKB OAuth plugin.
PHPKB OAuth Authentication Plugin
The OAuth 2.0 authentication plugin enables users to log in using their Google, Microsoft, Facebook, or any other account via buttons on the login page of your knowledge base.
Interested to buy this plugin? Contact Us for Licensing & Pricing.
To configure Google as an OAuth Provider in PHPKB, follow these steps:
PHP Requirements:
- PHP 7.0 or later
- CURL extension
- JSON extension
- OpenSSL extension
Download & Installation:
Extract the package (that you received after purchasing this plugin), copy all the files & folders, and paste them at their respective locations under the installation directory of PHPKB Knowledge Management Software on your server. There is a new folder, called ‘add-ons’ (applicable to PHPKB v9.0), copy that and put it directly under the root folder (i.e. outside /admin/ folder) of the PHPKB package.
Step 1: Setup Google as an OAuth Provider
- Go to https://console.developers.google.com and click on "Login / Signup".
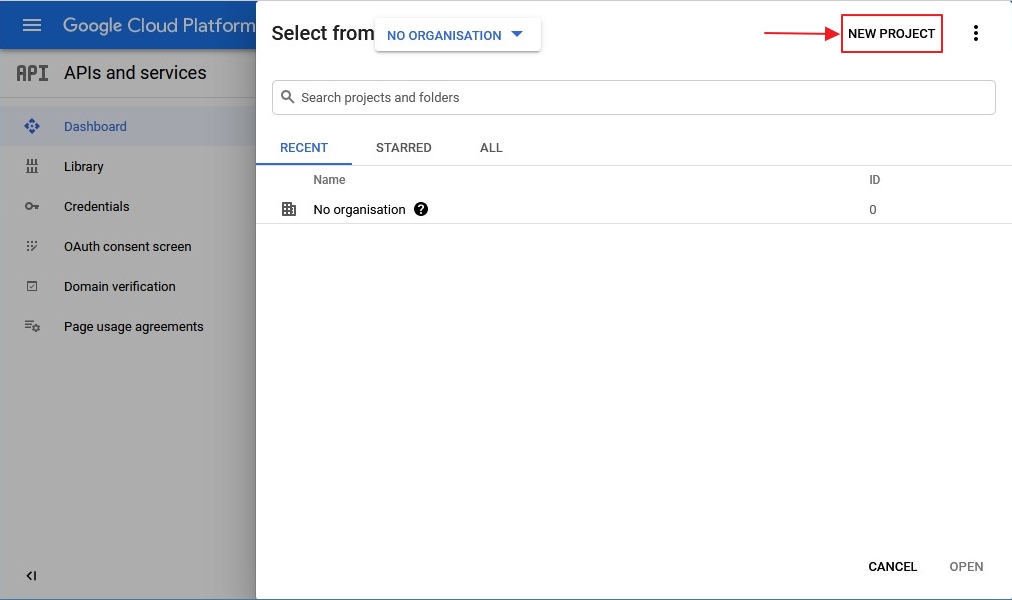
- Click on Select a project, and you will see a popup with a list of all your projects.

- You can click on the New Project button to create a new project.
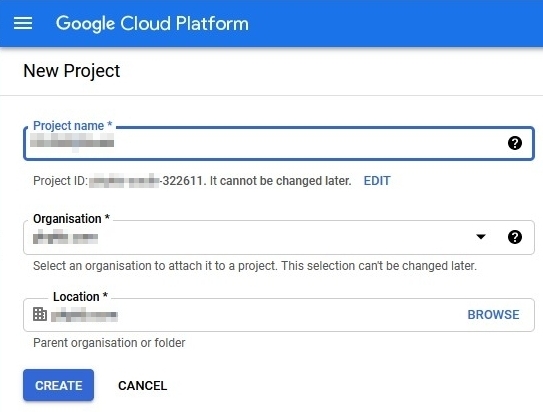
- Enter your Project name under the Project Name field and click on Create.
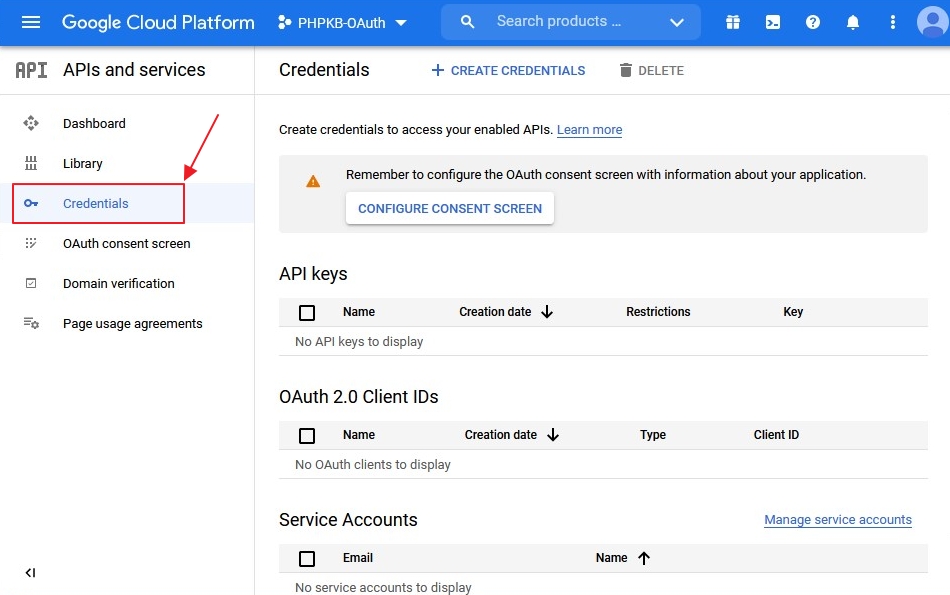
- Go to Navigation Menu > APIs > Services > Credentials .
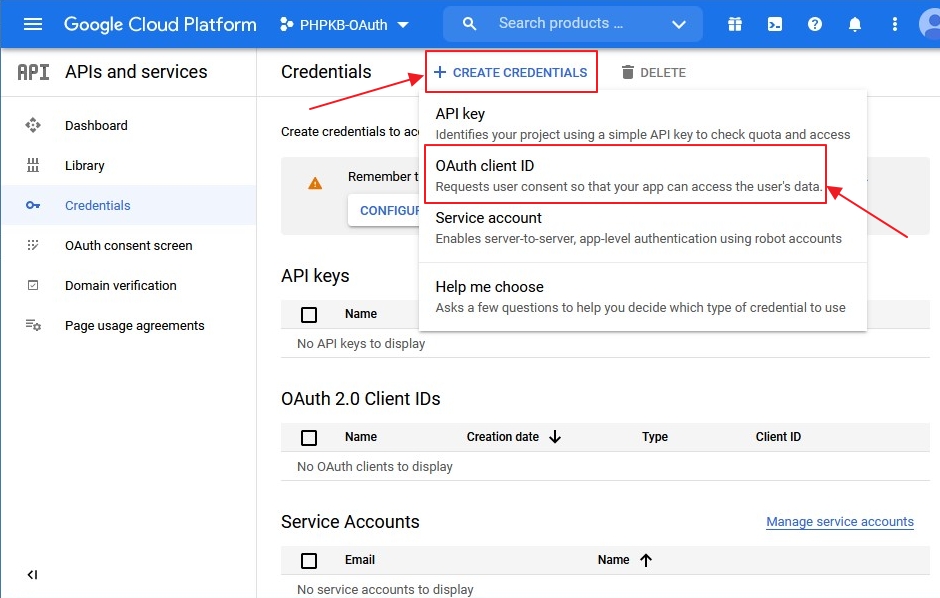
- Click on Create Credentials button and then select OAuth Client ID from the options provided.
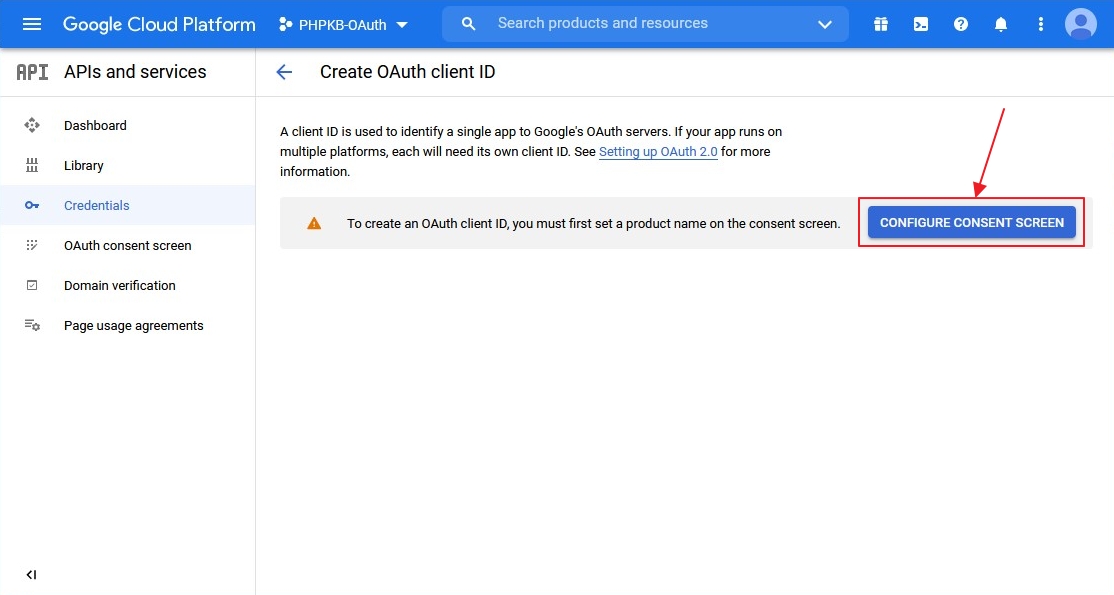
- In case you are facing some warning saying that in order to create an OAuth Client ID, you must set a product name on the consent screen. Click on the Configure consent screen button.
⇓

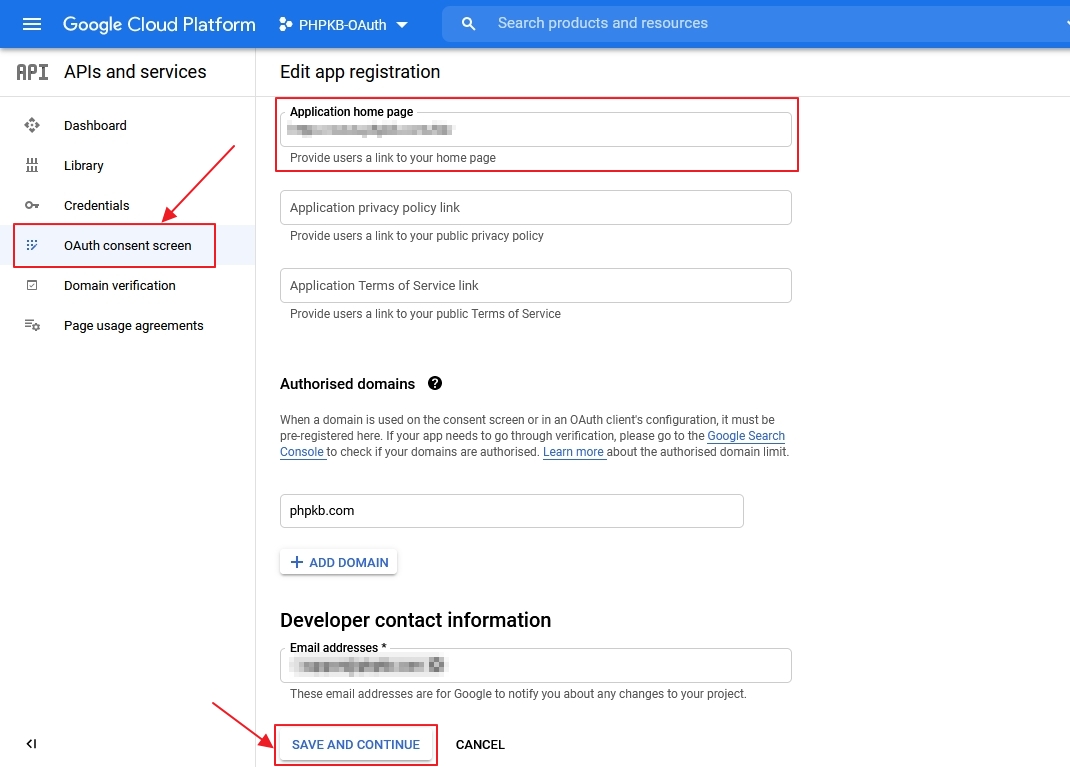
- Enter your product name under the Product Name Shown to Users field. Click on the SAVE button to save your settings.
- Now for configuring scopes, click on Add or Remove the Scopes button.
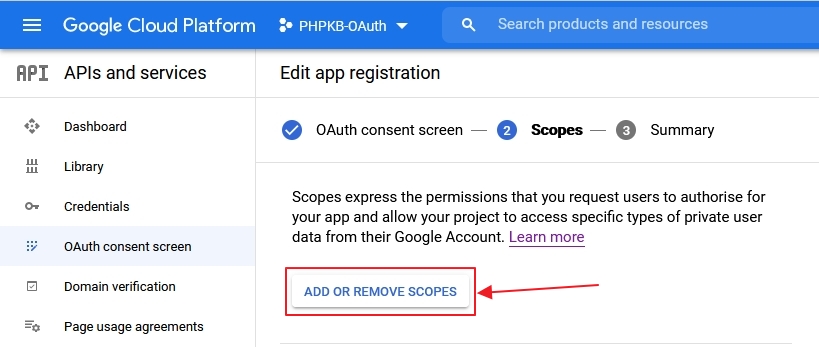
- Now, select the Scopes to allow your project to access specific types of private user data from their Google Account and click on Save and Continue button.

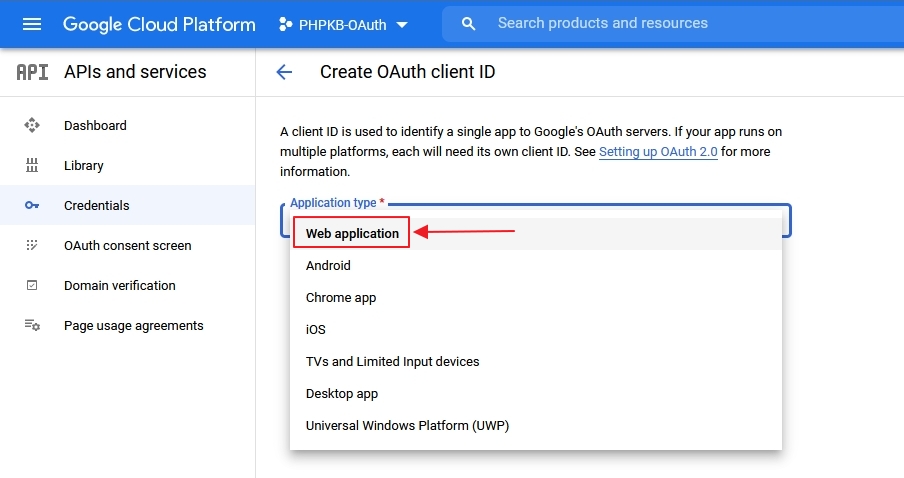
- Go to the Credentials tab and click on Create Credentials button. Select Web Application from the dropdown list to create a new application.
- Enter the name you want for your Client ID under the name field and enter the Redirect / Callback URI from PHPKB OAuth / OpenID-Connect plugin under the Redirect URL field.
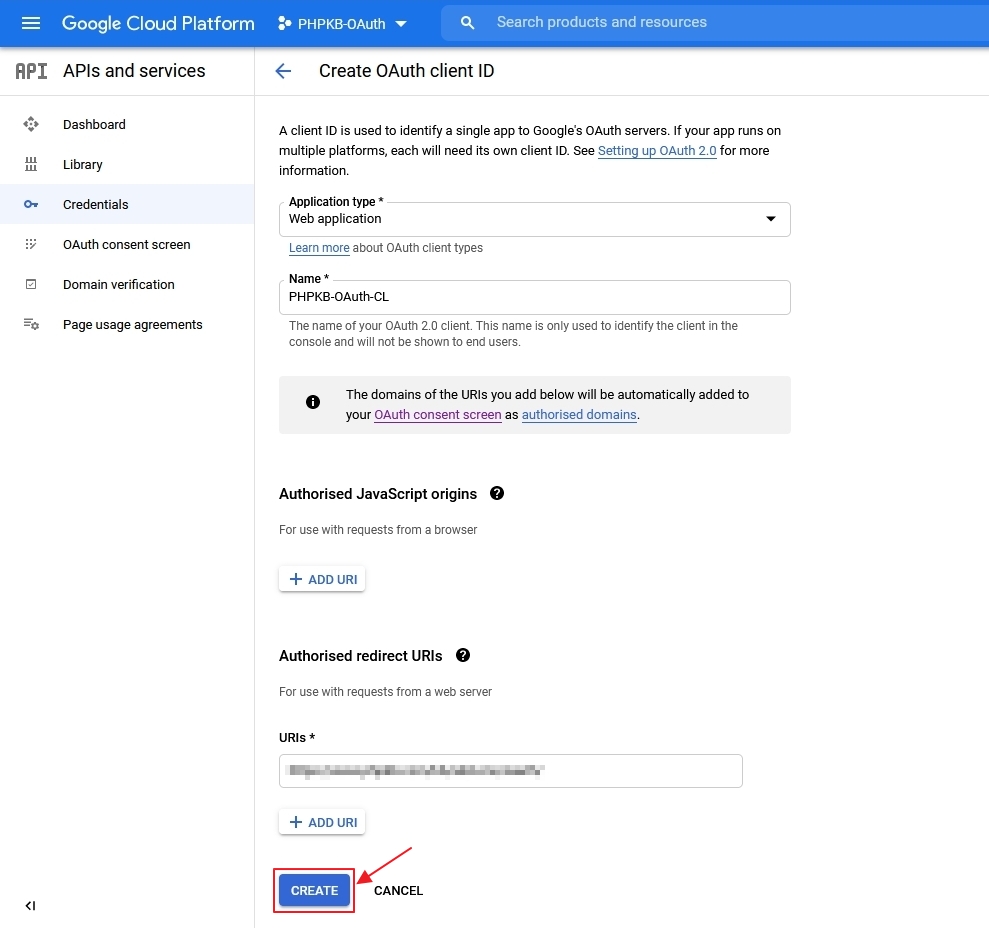
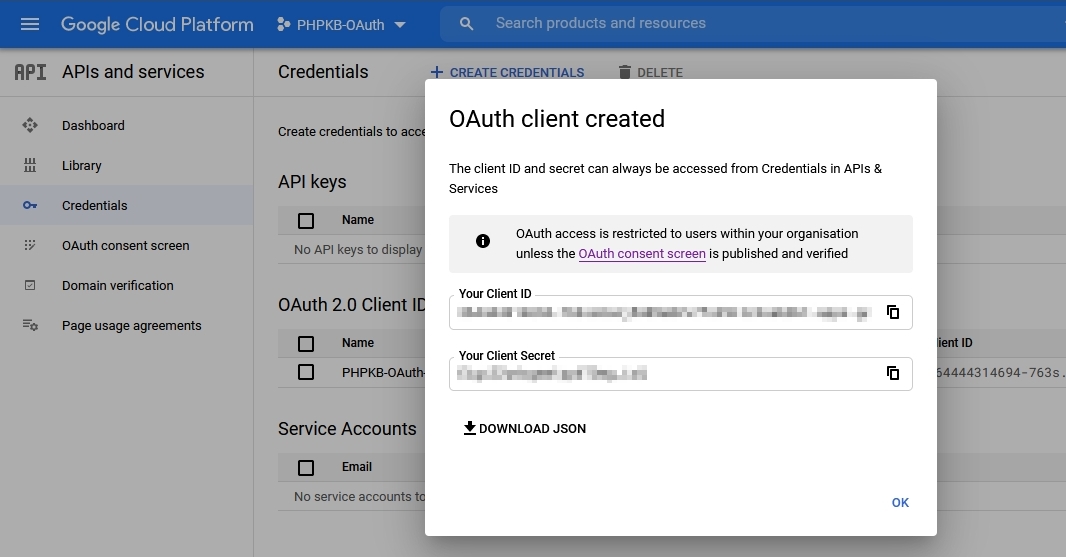
- Click on the SAVE button to save your configurations. Now, you have successfully completed your Google App OAuth Server side configurations.
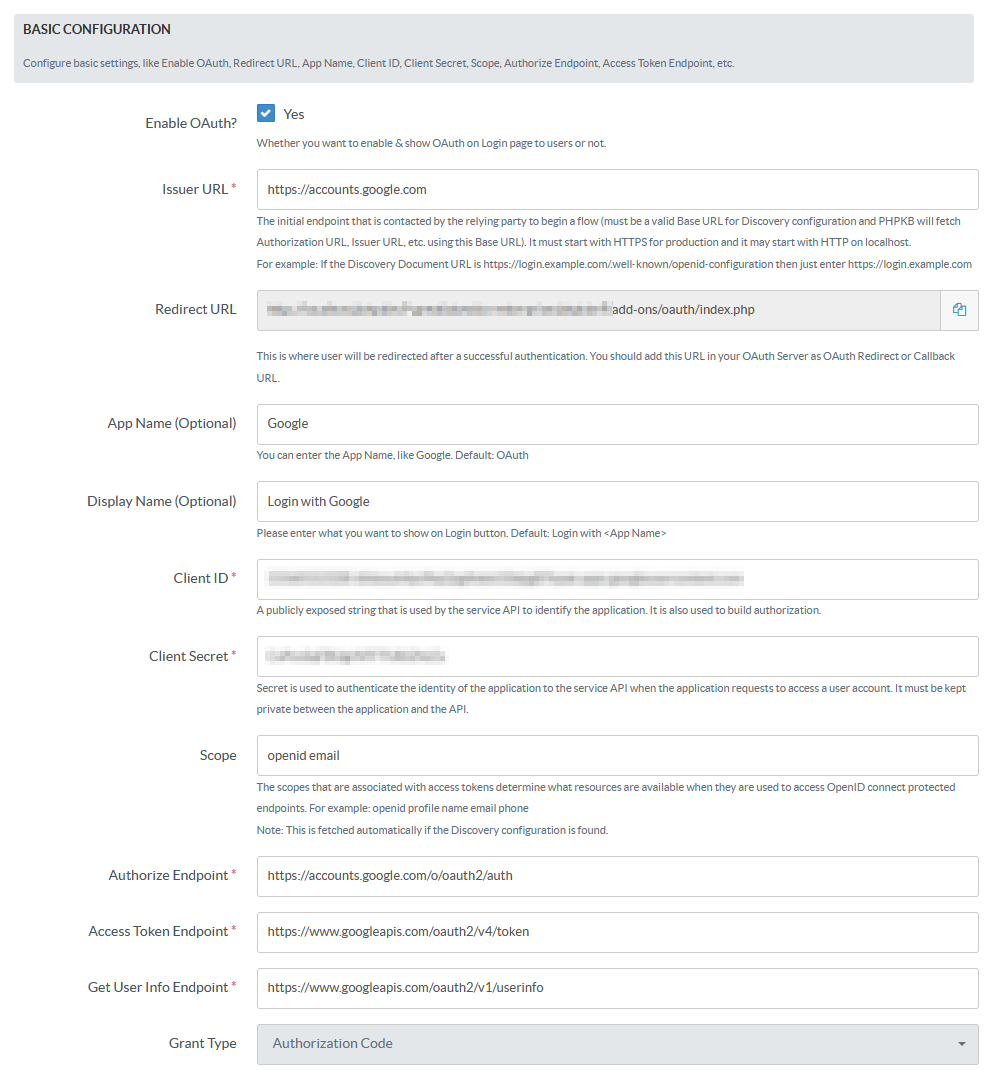
Google Endpoints and Scope:
Scope openid email Authorize Endpoint https://accounts.google.com/o/oauth2/auth Access Token Endpoint https://www.googleapis.com/oauth2/v4/token Get User Info Endpoint https://www.googleapis.com/oauth2/v1/userinfo Grant Type Authorization Code
Step 2: Setup PHPKB as OAuth Client
- Login to Administrator Control Panel as Superuser and go to Tools > OAuth / OpenID-Connect.
- Let’s configure the Basic Configuration.
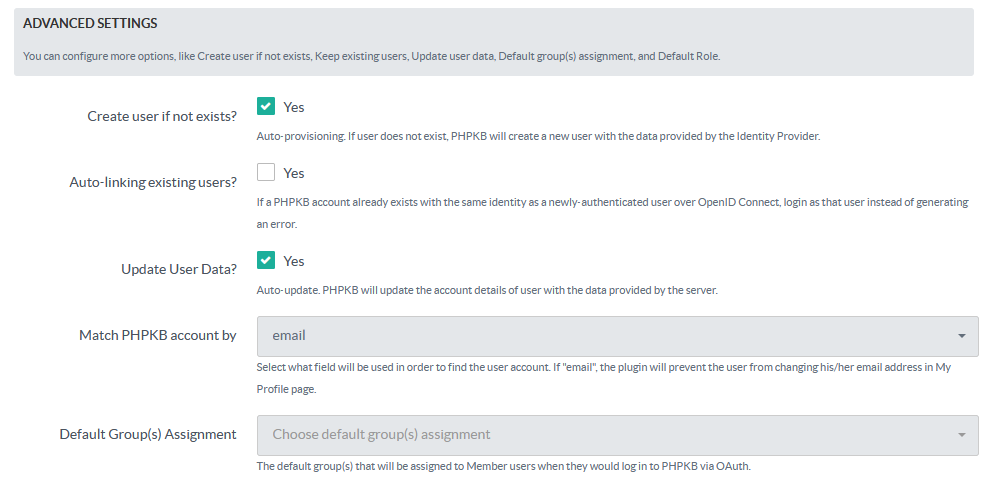
- Now configure the Advanced Settings section.
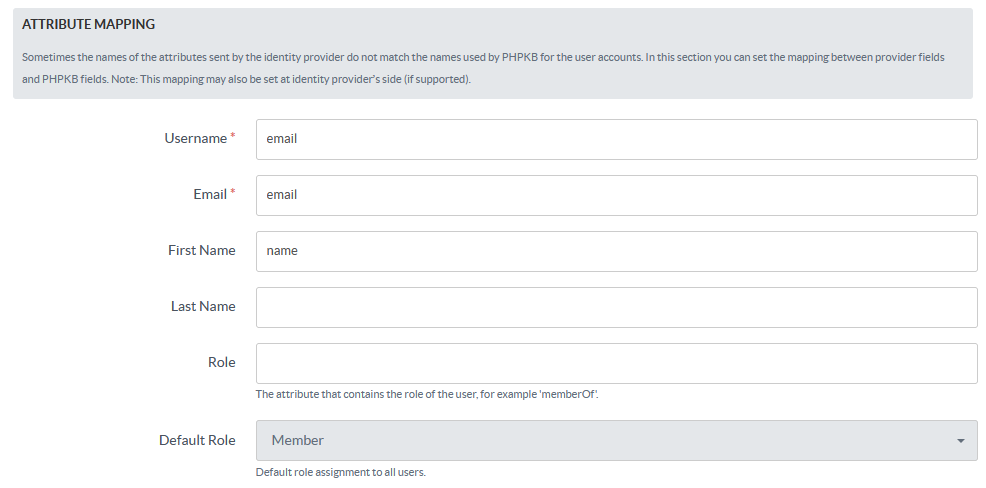
- Then configure the Attribute Mapping section.
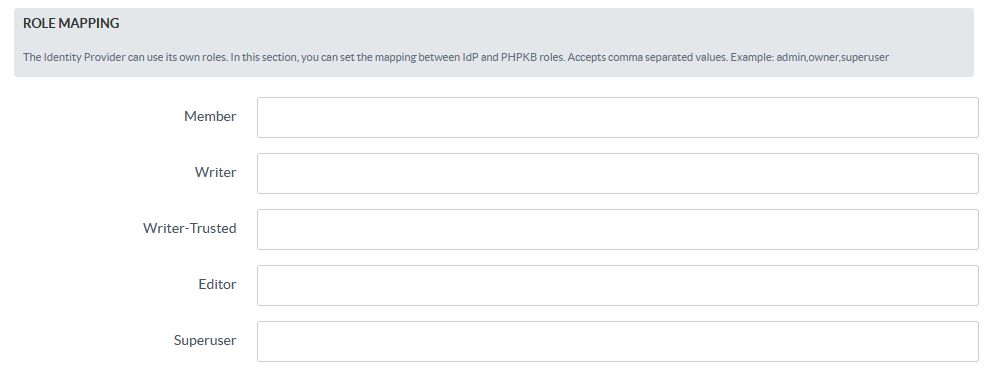
- The next is the Role Mapping section where you can map the roles returned by IdP with the roles that are available in PHPKB.
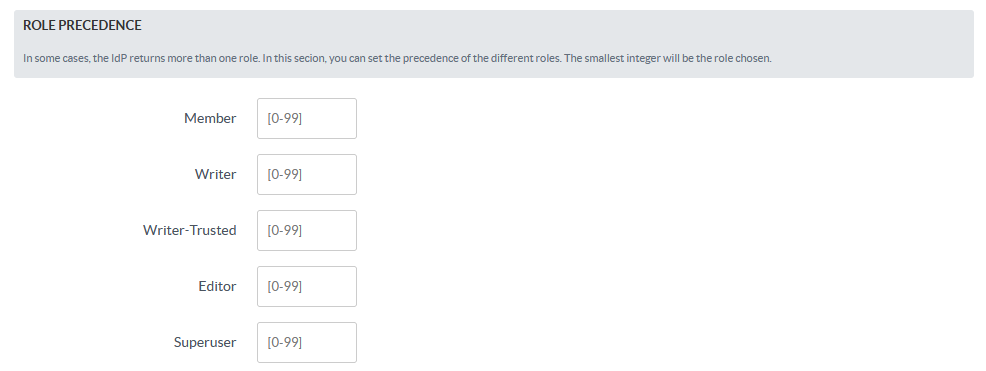
- Then you can set Role Precedence for different roles.
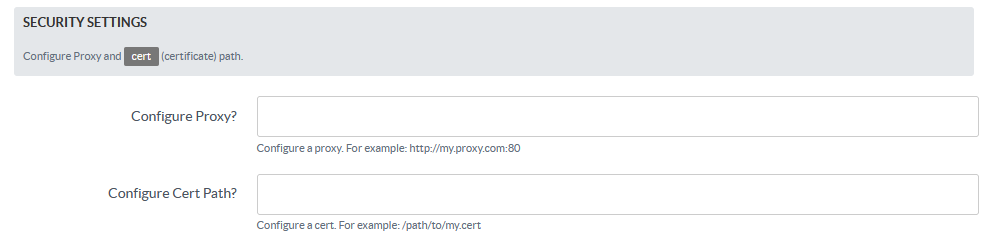
- Finally, set up Security Settings accordingly (if needed).
- Test the configuration by going to the Login page (either in the Public area or Admin area).
That’s all! By following these steps, you can configure Google as an OAuth Provider in PHPKB, providing users with a convenient and secure way to access the system.